 +
+ +
+


General Functions
- Monitor: Watch security video (preview)
- Device Manager: Add/delete IP cameras/NVRs/DVRs
- Playback: Play the recorded video clips
- Record Settings: Storage space setting, recording modes
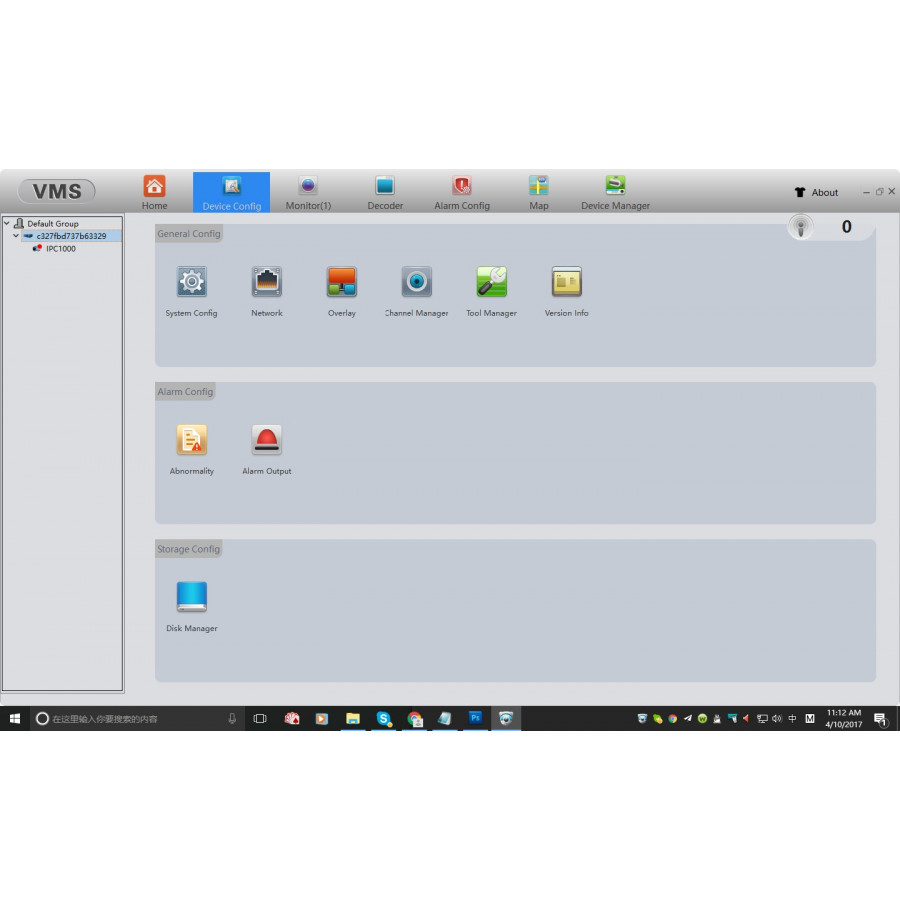
Config Manager:
- Device Config: Config the connected IP cameras/DVRs/NVRs
- Alarm Config: Enabled/Disable Motion detection, camera masking, video loss, Alarm I/O
- Tour Setting: Tour setting for PTZ cameras
- User Manager: Manager the user accounts
- System Config: Config the VMS software settings
Extensions:
- Map: Google map integration
- Decoder: Decoding video footage
- Backup: Backup all the settings of VMS software
- Batch Upgrade: Update/Upgrade the firmware of devices remotely
Add the Cameras/DVRs/NVRs to VMS
Navigate to [Device Manager], the VMS will list all the available devices that in the same network. You can click "Search again" menu to start to search for devices. If you wish to add the camera which are not in the same network, then you have to add it manually.

Click [Manual Add] to add the device manually, input the user-defined name, then select the group. If adding the camera from the same network then select [IP/Domain] value on login type column, if you wish to add the camera for remotely video monitoring (not in the same network/accessing from a different place), then should select [CloudID]. Vendor selection list includes XM, HK, DH, ONVIF, choosing the appropriate one according to your device's brand. After completing the other input, click [Save and Continue] to add the device.
Note: If choosing IP/Domain, it's required to input the camera's IP address or domain name, using the default port number 34567, if you don't change the port number in your device (IPC, DVR, NVR). User name and password are the device's account info.

Please note: we don't offer any support for this software.